# Data scoring
## Running the data scoring task
After your predictive model is built, you can calculate scores for the given dataset.
For instance, if the goal of your project was to select the best target group for your marketing campaign, you would like to know the response probability for each customer in your database. In this task, ABM will assign the response probability (calculated based on the predictive model built by ABM) to your customers (identified by an ID variable which must be unique for each customer).
To start the scoring data task:
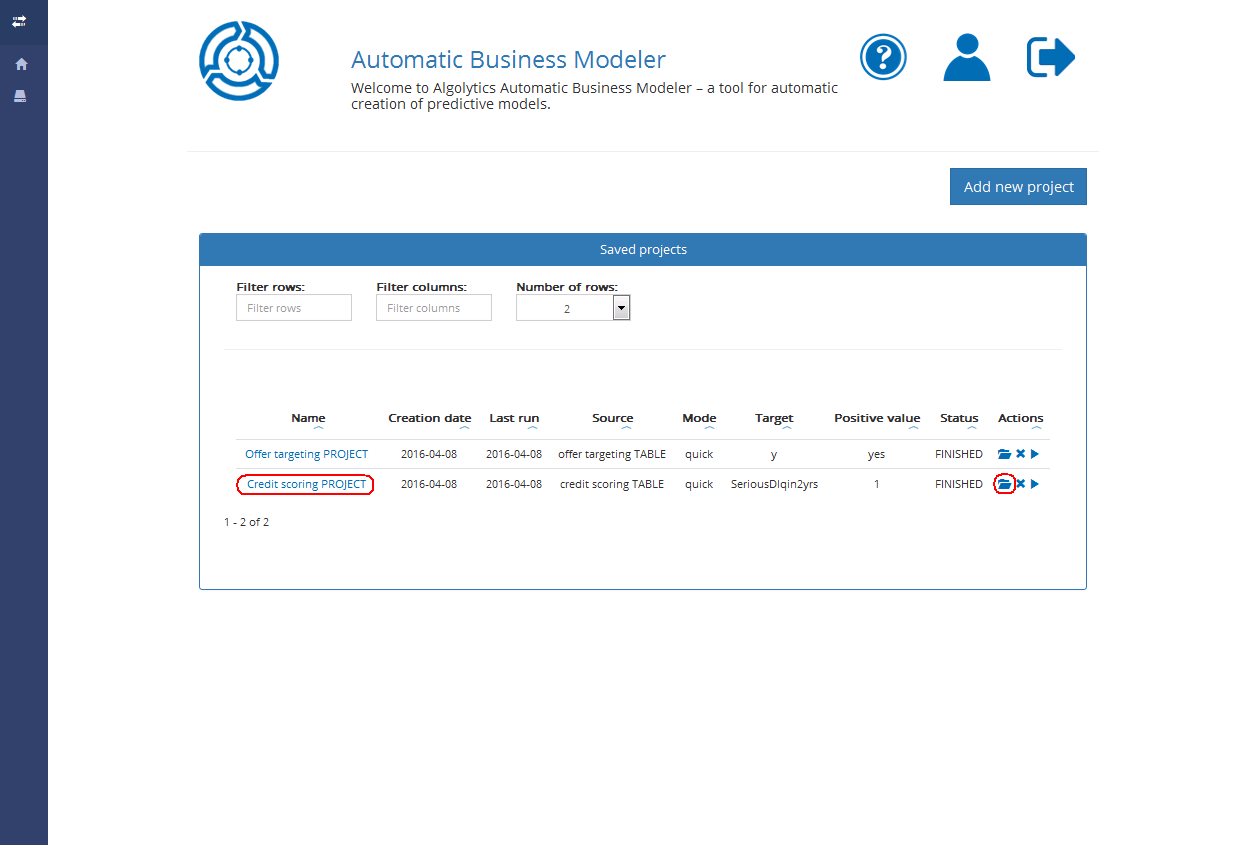
1. From the Homepage level, open the selected project by clicking on its name or click the Open project button
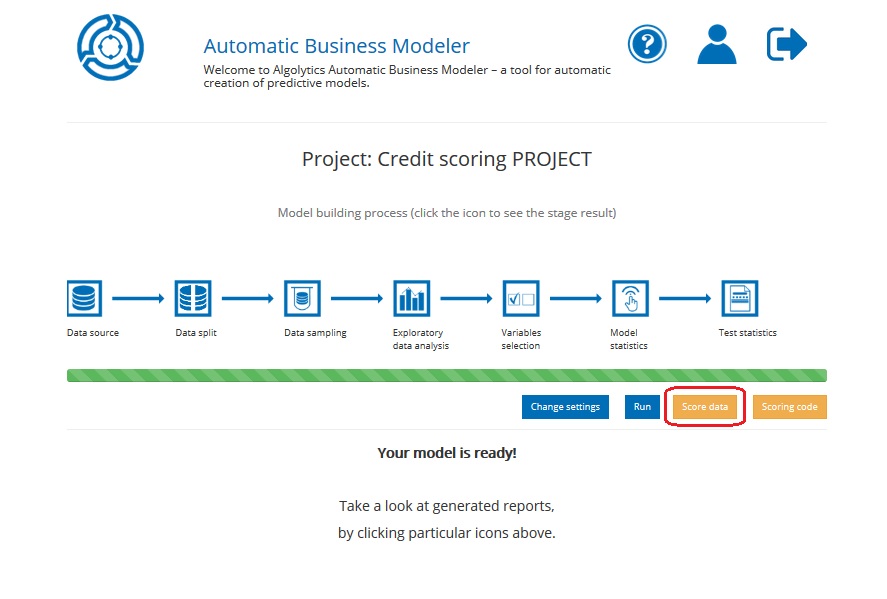
2. Click the Score data button (from the Project’s reports level)
The scoring data task is divided into six steps.
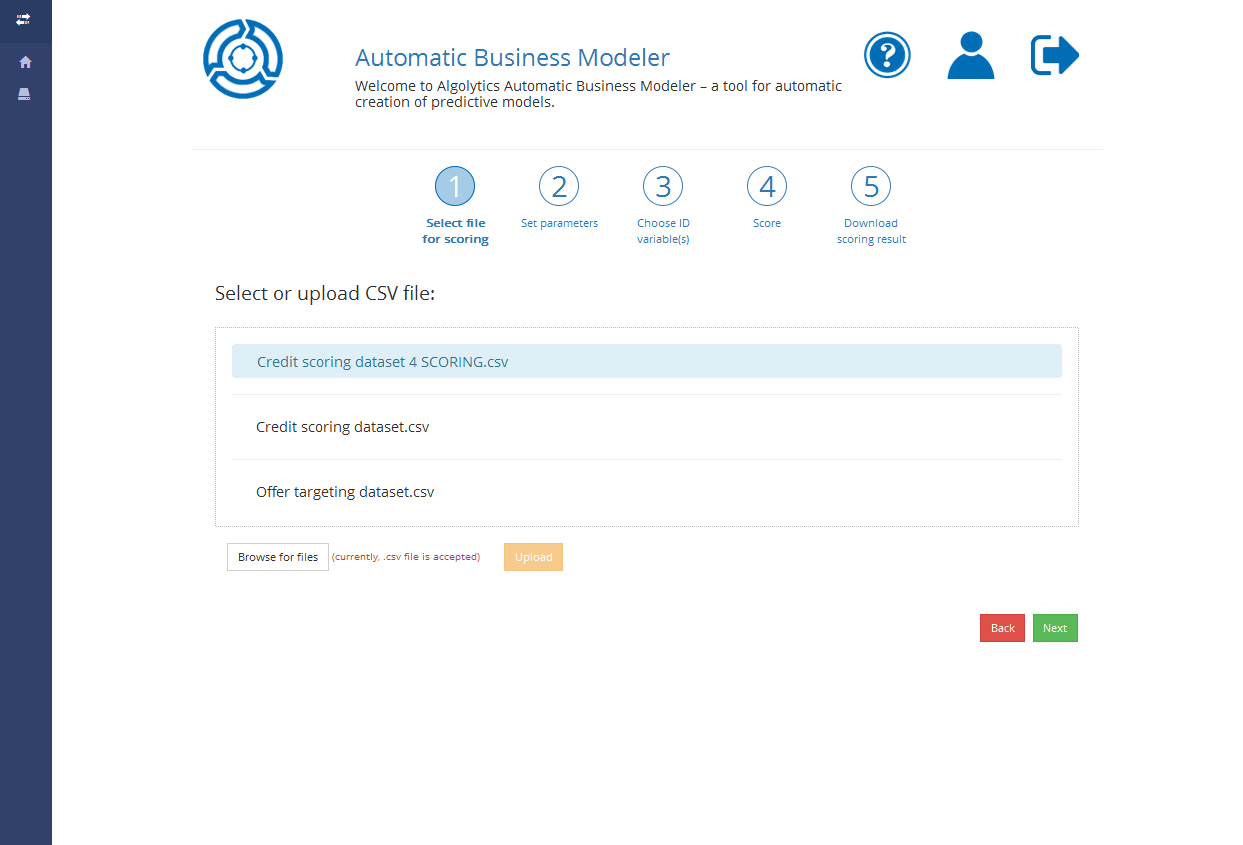
**Step 1**: Select a file for scoring
**Step 2**: Input detailed information about the file selected for scoring
**Step 3**: Choose the ID variable to which score values will be assigned (e.g. customer’s id)
**Step 4**: Start the data scoring process
**Step 5**: Download scoring result
And that’s it!
## Step 1: Selecting file for scoring
[Select an already uploaded file](/algolytics/abm/repository.md#uploading-files) with the data that will be used for scoring. Currently, the .csv format is accepted (other formats are planned).
**Remark**: It’s crucial that the file for scoring and for model construction have the same structure:
* identical number of variables
* variables should have the same names and types
You can also add a new file by clicking the Browse for files button and by selecting the file from your computer. Upload the file with the Upload button and wait until it’s sent to the ABM server.
Choose the file by clicking its name and the Next button if you want to proceed to Step 2.
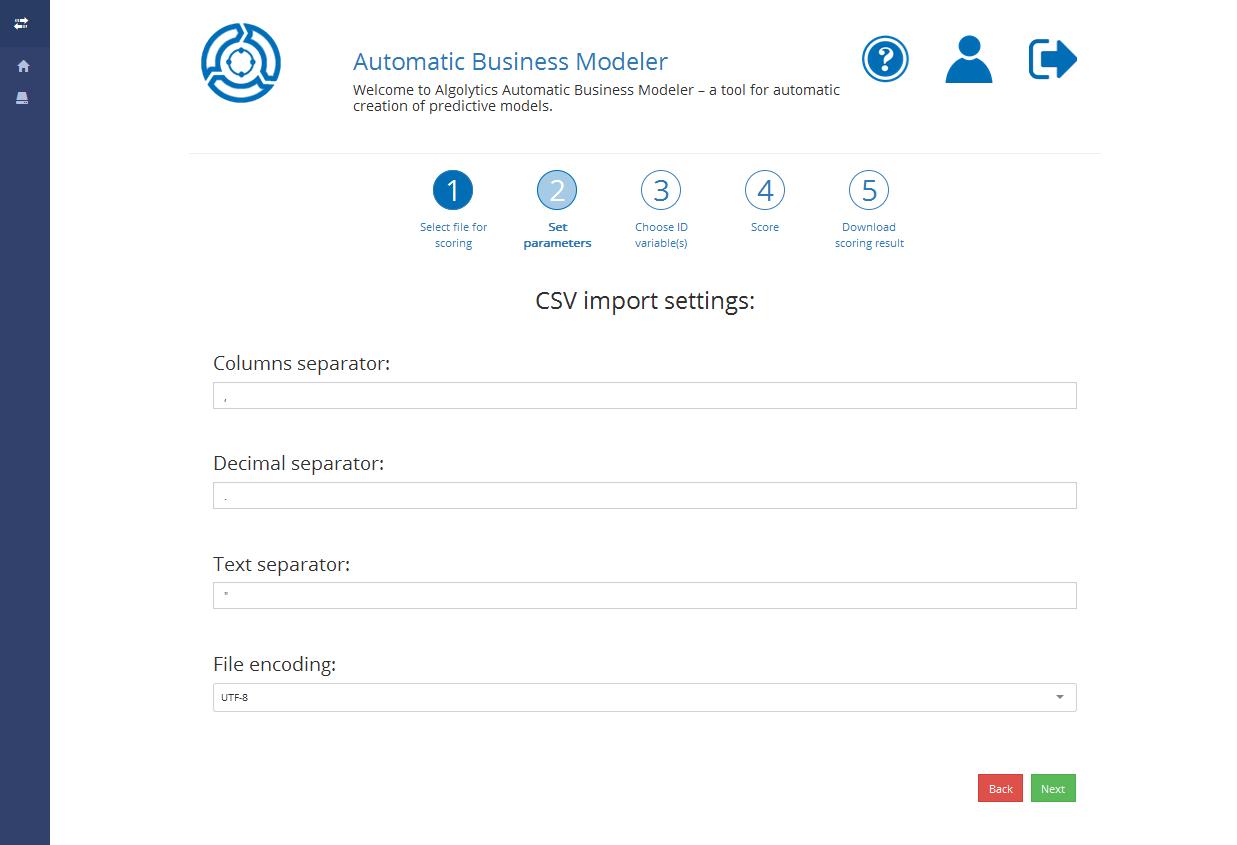
## Step 2: Entering file settings
In Step 2 you will be asked to indicate what separators were used in the chosen file, including:
* **Columns separators**. For instance, if columns in CSV file are separated by a comma (e.g. name, email, age), write , in the first field
* **Decimal separators**. For instance, if a decimal character is a dot (e.g. 4.25) in CSV file, then write . in the second field
* **Text separators**. For instance, if a quotation mark is used to indicate the beginning and end of the text (e.g.’Baker Street 221b’), write ‘ in the third field
* **File encoding**. Choose the character encoding used in your file. If you need to add specific encoding to the list, contact us at [abm\_support@algolytics.com](mailto:abm_support%40algolytics.com)
Click the Next button if you want to proceed to Step 3 or the Back button if you want to change the previous project settings.
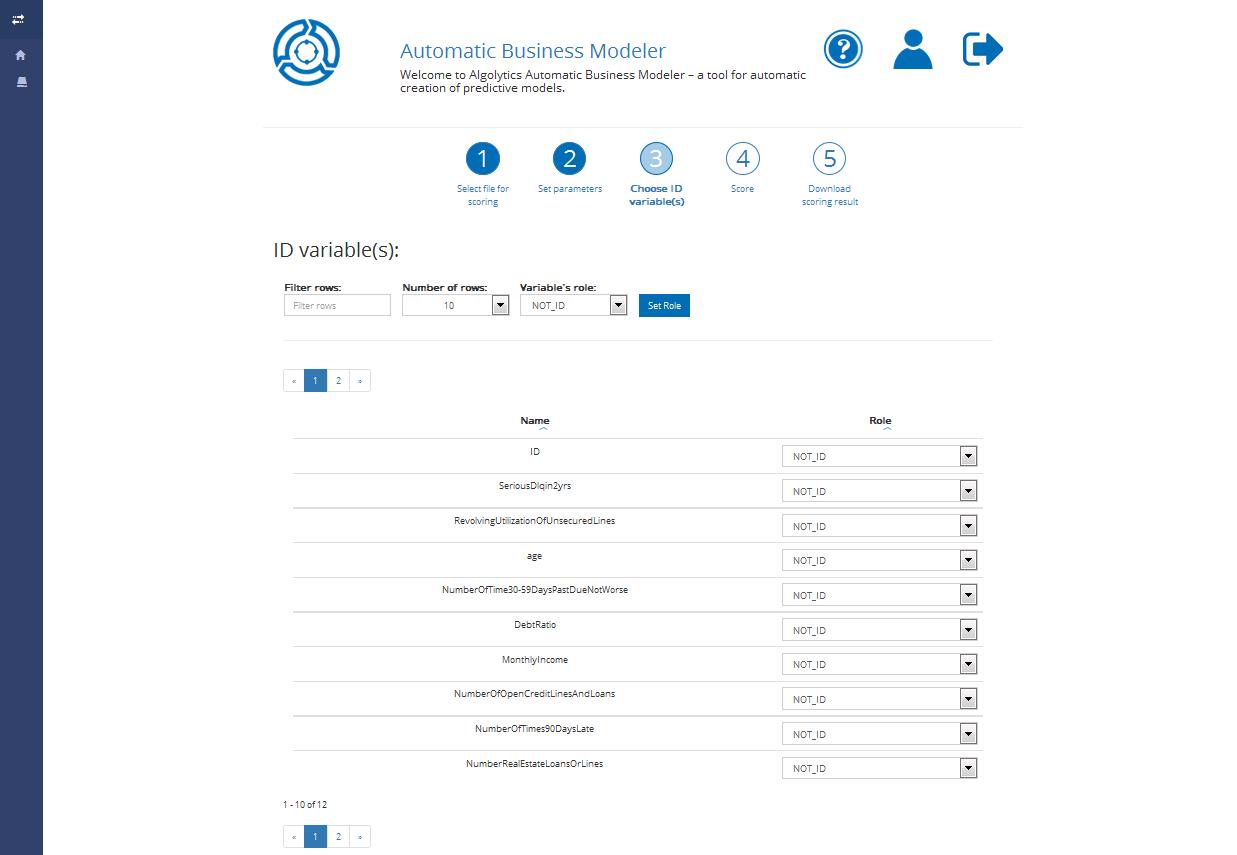
## Step 3: Selecting identity variable
In Step 3 you will be asked to indicate the ID variable name. The ID variable is a variable with unique values which is used for identification of observations (e.g. customer ID). Scoring points will be assigned to this variable.
Click the Next button if you want to proceed or the Back button if you want to change the previous project settings.
## Step 4: Running data scoring process
You’re almost there. Check if the information provided is correct. Click the Run button to start the scoring process or the Back button if you want to change the scoring process settings.
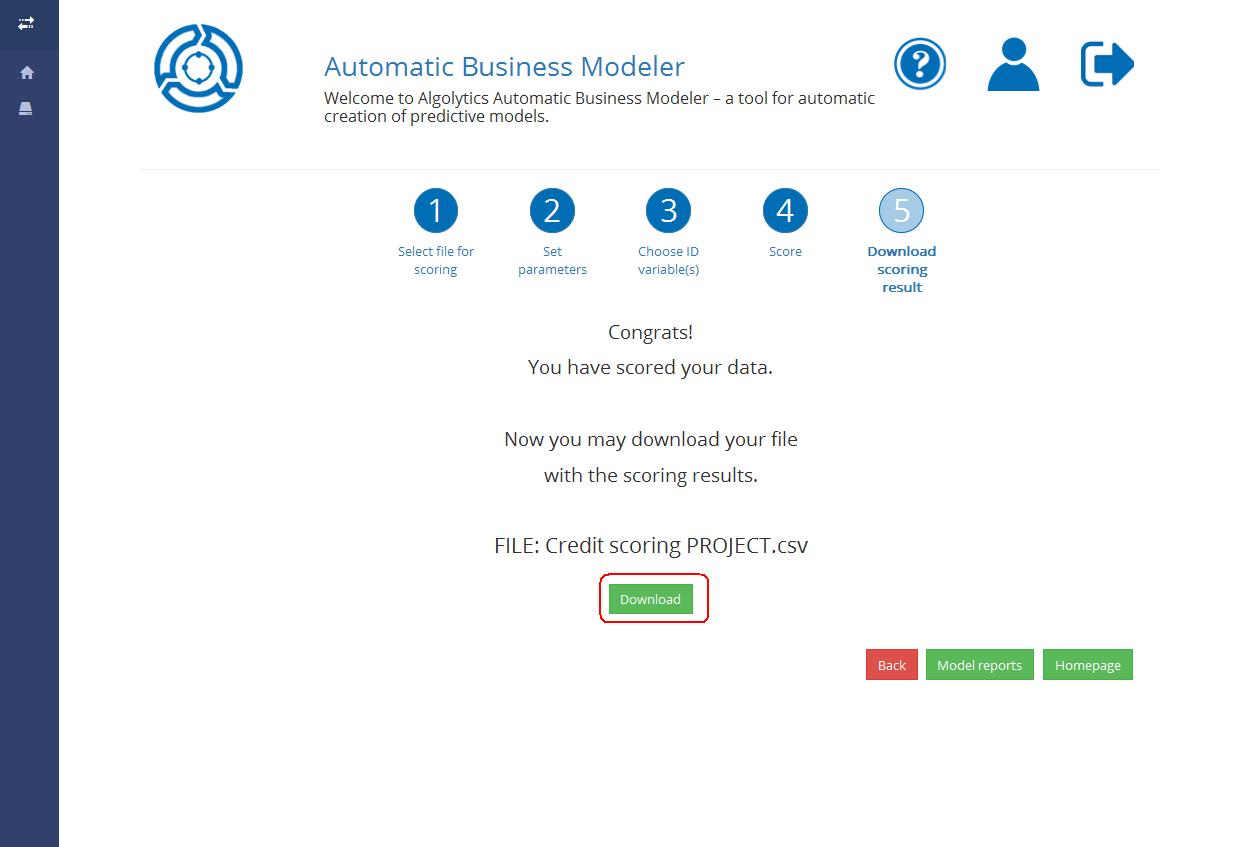
## Step 5: Downloading scoring results
When the scoring process is finished you will see the following screen:
Click the Download button to see the scoring result. The output file is a .csv file containing three columns divided by commas:
* **PositiveTargetProb**: the probability of a positive value of the target variable (the situation when the phenomenon occurred, e.g. 1, the customer churned)
* **Identity variable name**: name of the chosen ID variable to which the probability will be assigned (e.g. customer id)
* **PredictedTarget**: the predicted value of the target variable. By default, if the threshold = 0.5, PredictedTarget will be equal to ‘1’ if the PositiveTargetProb >= 0.5, and to ‘0’ otherwise
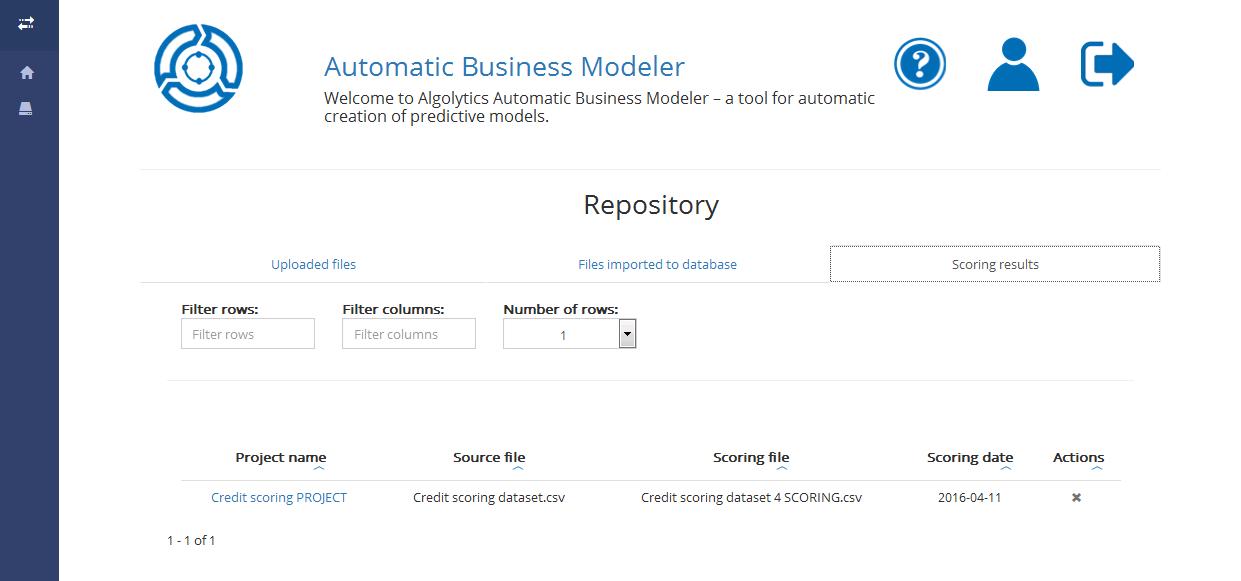
You can also access the output file with the scoring results from [the Repository](/algolytics/abm/repository.md).
Click the Back button to change the scoring process settings and to start the scoring process again. You can also return to [model’s reports](/algolytics/abm/models-and-variables-statistics.md) or go to [ABM Homepage](/algolytics/abm/introduction-to-abm.md#homepage-overview).
---
# Agent Instructions: Querying This Documentation
If you need additional information that is not directly available in this page, you can query the documentation dynamically by asking a question.
Perform an HTTP GET request on the current page URL with the `ask` query parameter:
```
GET https://algolytics-technologies.gitbook.io/algolytics/abm/data-scoring.md?ask=
```
The question should be specific, self-contained, and written in natural language.
The response will contain a direct answer to the question and relevant excerpts and sources from the documentation.
Use this mechanism when the answer is not explicitly present in the current page, you need clarification or additional context, or you want to retrieve related documentation sections.